
We were fortunate enough to only have popcorn in two of our three bedrooms and both living areas. While this may sound like a LOT of popcorn (736 square feet, to be exact), it could have been much worse, as our total square footage is around 1300. We knew we wouldn't have time or perhaps even the resources to tackle the whole house at once, we started with the two bedrooms.
IMPORTANT!! In case you didn't know, some popcorn ceilings contain asbestos, a very hazardous material that is known to cause lung cancer. You should NEVER attempt to remove your ceilings without first testing for asbestos!!
We took the necessary precautions in case we did have asbestos, even though we were very certain that we didn't. This included fully tenting the room, wearing masks at all times, and cleaning thoroughly.
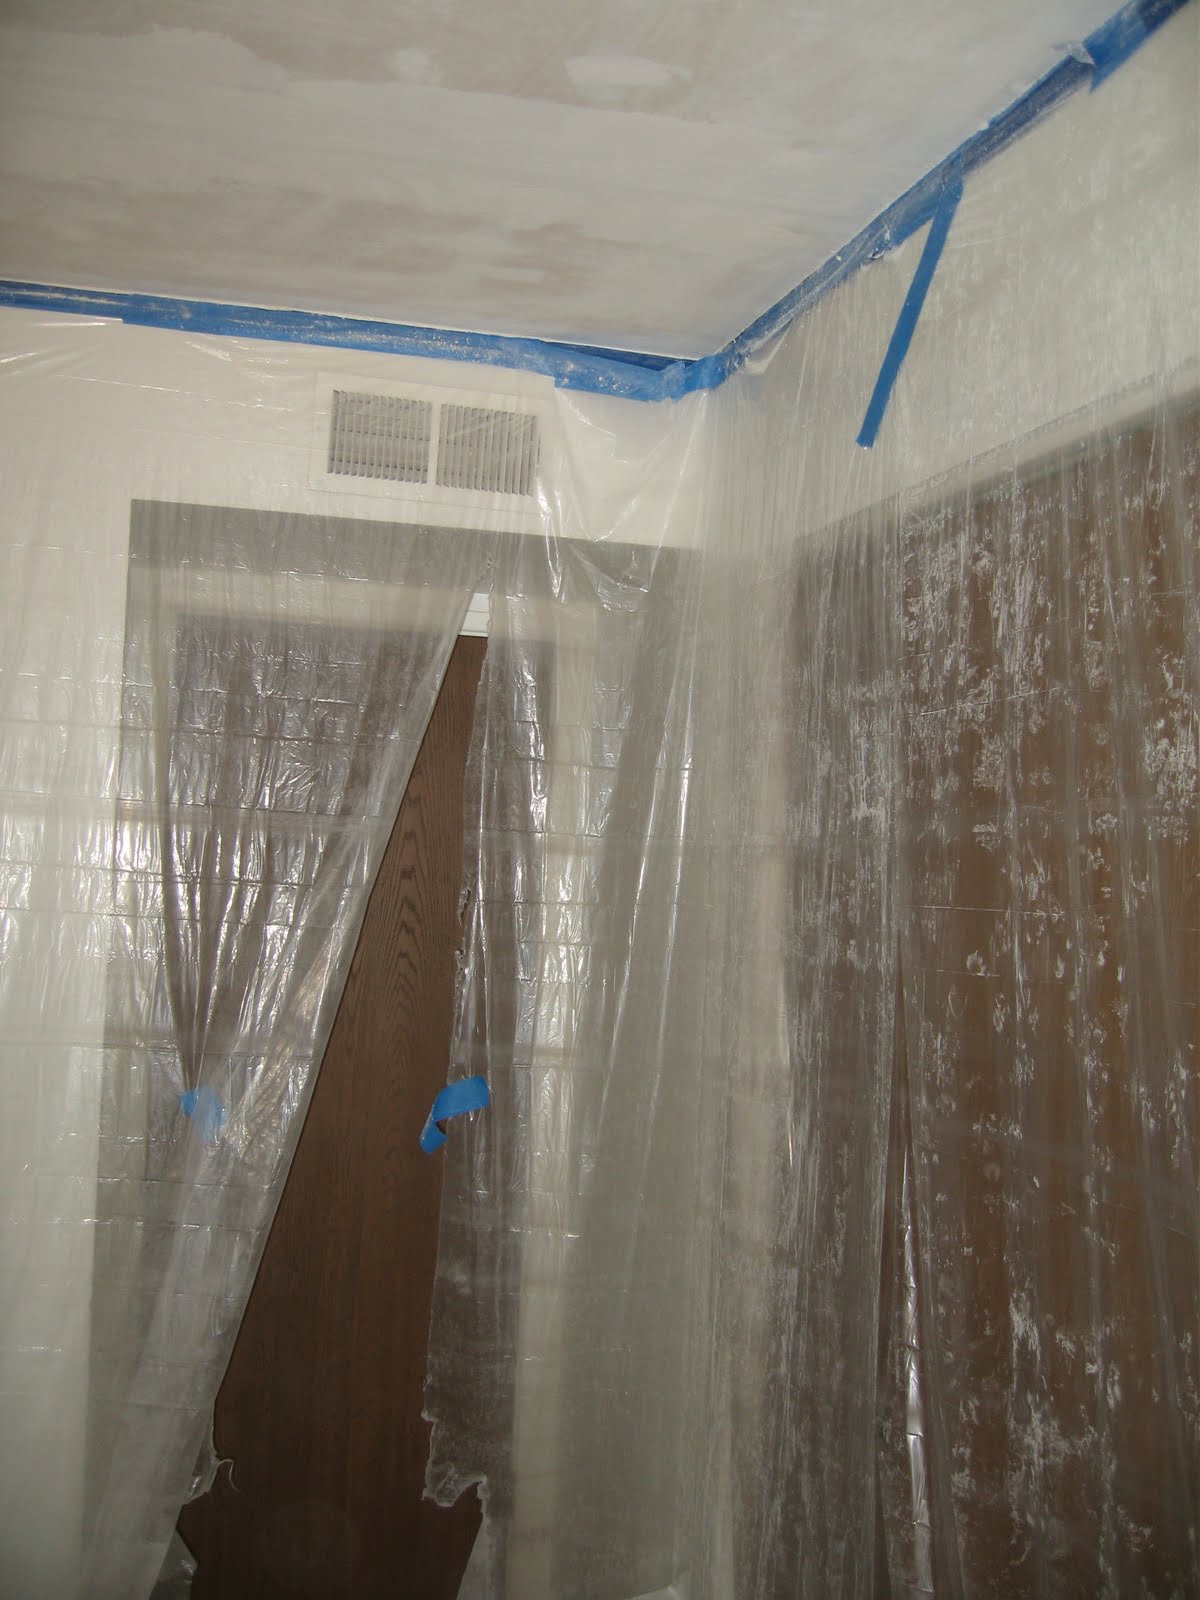
We first masked the room much as if we were going to paint the ceilings. We then attached plastic drop cloths all the way around the room, and laid more on the floor taping them all together.
Stripping the popcorn is actually the easy part of the job. To do it, you'll need some sort of water sprayer, and a putty knife. We used an empty bug sprayer (it had never before been filled with pesticide - we figured it was best not to mix chemicals =)) and a 6 inch putty knife. This part of the process will either be SUPER easy or a bit harder, depending on whether your popcorn has been painted. If it's not been painted, the water will absorb quickly and you can scrape in a matter of moments. If you do have paint on your ceilings, you may need more water and you will certainly have to wait longer. The ceilings should scrape easily when they are thoroughly soaked.

Underneath the popcorn will normally be bare sheets of drywall. You do NOT want to wet these, nor do you want to damage them, otherwise you'll have to cut out those bits and patch them. So, scrape carefully!
Once all of the popcorn has been removed (it took less than two hours for our 275 square feet), remove all of the drop cloths and all of the popcorn and dispose of them. You really can't be too careful with this junk, it's awful. And even if it doesn't have asbestos in it, it's messy as heck and you'd do better to get rid of it right away. Now you get to re-mask the room and hang new drop cloths. You needn't be as thorough this time, as you're just protecting your walls and carpet from the texture you'll apply to the ceiling. Here we are with the naked drywall showing through, and new masking hung (the drop cloths look used b/c I saved them from our last house painting projects - I'm cheap!)

Speaking of which, it's time to decide what you want to apply to your ceiling. We originally wanted a "skip trowel" finish. A skip trowel looks like this...

You're meant to spread a thin layer of topping joint compound...

...onto the edge of the trowel and artfully drag it across the ceiling to achieve a texture that ends up looking like a flatter version of stucco. Like this:

The length of the handle on the trowel is meant to cause it to "skip" a little as it slides over the drywall. Hence the little divots. However, what you don't know is that getting the texture to look right is next to IMPOSSIBLE. We spent no less than 3 days trying to perfect it and tell ourselves that it actually looked good. Here's a glimpse:


As you can see, it ended up looking more thick, like outdoor stucco. This can be because the joint compound is too thick (you didn't add enough water to the mix), but even when we made it runnier, we had the same problem. On Tuesday morning, when we were hoping to start painting, we decided it was a no go. =(
Since we have an orange peel texture on all of the other walls in our home...

...we figured we would just spray this onto the ceilings in an effort to maintain continuity. You can buy orange peel texture in a can (VERY $$$ per square foot), or you can rent a hopper and a generator...

...and spray on the texture (which is just the topping joint compound mixed with air). We opted for the cheaper option, which for our square footage was the hopper. In order to do this, your ceilings need to be completely flat, as the orange peel isn't very forgiving with lumps and bumps (as much as it looks like it should be!). In order to do this, you must sand down what was to be the skip trowel texture, and fill in the gaps with more topping joint compound using your 6 inch putty knife. UGH!!
**Make sure when you are sanding a ceiling that you NEVER sand all the way down to the drywall. If you rip the drywall paper, it's no longer usable, and you'll have to patch it (read: more work with your arms over your head, as if you hadn't done enough already, thankyouverymuch).
Here is where I enlisted the help of a good friend in what turned out to be four delirious hours atop two ladders in 90 plus degree heat (Tovah, you are a ROCK STAR!). We were discouraged that we couldn't get the finish exactly flat, but figured we could sand the rest of it the next day. But after we literally hosed each other down because we were so crusty and sweaty and miserable cleaned up a bit, we looked back at the ceiling to discover that the texture was LOVELY as it was! WIN! I LOVE happy accidents like that! Eric got home, took one look at it, and loved it too. It looked somewhat like this, only white (ours was VERY difficult to get a good picture of)

Nice, huh?? Next step: sand and prep for paint. You want to make sure that any little "boogers" are eliminated because sharp edges and little "hangers on" to the ceiling will be glaringly obvious with paint. I recommend 80 grit sandpaper. It was tough enough to get the job done without obviously scraping the texture. Are you TOTALLY bored of this tutorial yet? I warned you at the start that this project was time consuming, dirty and boring blog material - I'm just saying... you knew this going into it. :p
Next, make sure all of your edges where the wall meets the ceiling are nice and neat. If not, just use your putty knife and possibly some sandpaper to clean things up. We knew we would be painting our walls shortly, so we pulled down the drop cloths and let them just cover the carpet, hoping to improve circulation in the rooms (did I mention it's been bout 112/113-ish this last TWO WEEKS?! And that the drop cloths were blocking the AC vents?? No exaggeration there, people!). We just watched for drips as we went along and painted the crap outta those rooms! We went with a nice white color in Behr paint. I'd give you the name, but we had it matched to the Valspar on our kitchen cabinets, because we liked the color so much, but had coupons for Behr paint (told you we were cheapos!).
This is how we looked before paint...

And after paint...

Ok, so even I admit it's hard to see the difference after paint. But, you gotta paint it! I think a close up before and after will show you just how far we came. So...
BEFORE:

AFTER:
I'm so pleased with the transformation! I know it's not much to blogland, but it's a BIG deal to us, and it adds a couple thousand dollars in value to our home, woot! Did I mention that we had a company come in and quote us $3500 for the whole project? We spent $157. BOOM! Now, granted - it took FOREVER, and we're only about 1/3 done with removing all of the popcorn from our house (square footage wise), but we love us some sweat equity! And even if it ends up costing us triple this amount to finish, it's still cheaper than hiring professionals. Plus I get to skip the gym - texturing is a work out! While the payoff in looks isn't as amazing at my DIY kitchen remodel from last summer, it makes me feel excited. It's like we live in a place that wasn't built in 1976.
So, are you up for it, fellow haters of popcorn?? It's a challenge, to be sure, but the payoff (literally - when you sell your home) is totally worth it. The best advice I can give is to NOT attempt this project in the middle of the summer in AZ, and to take frozen yogurt breaks often. Nothing makes you feel as refreshed as an ice cold glass of water and....

Mmmmmmmm! Come to think of it, maybe I need a little "hooray-I-finished-my-project" reward. I'm off to get some FroYo; happy Monday, friends!
I'm impressed! This seems like a ton of work!!
ReplyDeleteLove your kitchen remodel. I'm a sucker for white cabinets!
I give you so much credit for attempting this! Our last house had them in the entire house. We talked about doing it, but we just didn't have the motivation plus there were vaulted ceilings. Your end result looks amazing!
ReplyDeleteWe just finished removing the popcorn in our kitchen! Unfortunately there is popcorn in EVERY room of our house. Great work!
ReplyDelete
ReplyDeleteMuch obliged for offering this quality data to us. I truly appreciated perusing.
Asbestos Removed
Builders got away with doing less than half of the work required to achieve a leveled smooth ceiling. popcorn ceiling removal
ReplyDeleteThis is a very helpful guide for anyone considering removing popcorn ceilings.
ReplyDelete